User Query: I need a reliable and efficient way to import large PST files into Office 365 without risking data loss. I am dealing with bulk data across multiple users. Is the manual method enough, or is there a faster and more reliable solution available?
Managing old email archives is a big challenge for today's companies. As they move to cloud services, getting old data to the new systems is key. A detailed Microsoft 365 migration guide helps keep data safe and easy to find for everyone. Big companies face a huge problem with lots of old emails. When you import PST files to Office 365, you need to be fast and correct to keep work going. A good plan makes sure the move is smooth and safe. Using the SysInfo PST to Office 365 Backup Tool, you can counter this issue.
| Prerequisites: |
|---|
|
When it comes to importing PST files into Microsoft 365, there is no single fixed path. Depending on the size of the migration and the resources at hand, different methods can come into play. Microsoft does have a built-in approach, but it is not always the most practical one for every situation. The sections below cover the most widely used manual method, so you can pick what actually works for your setup.
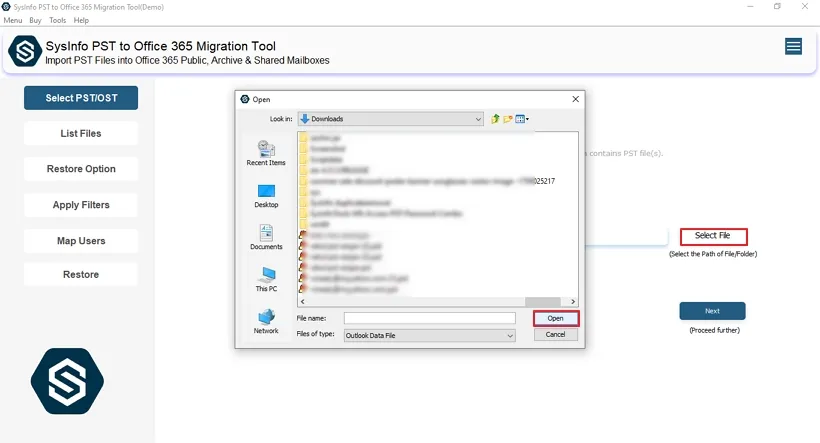
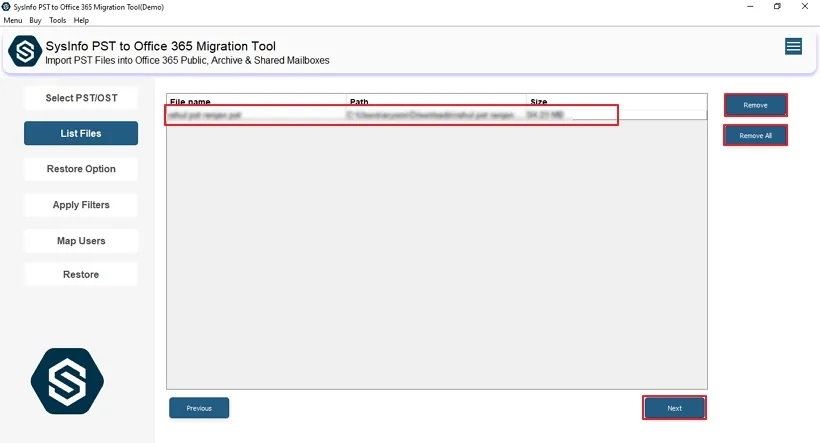
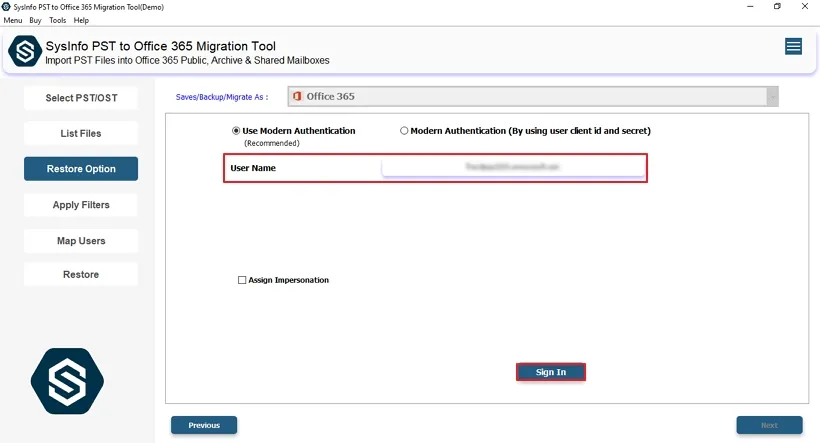
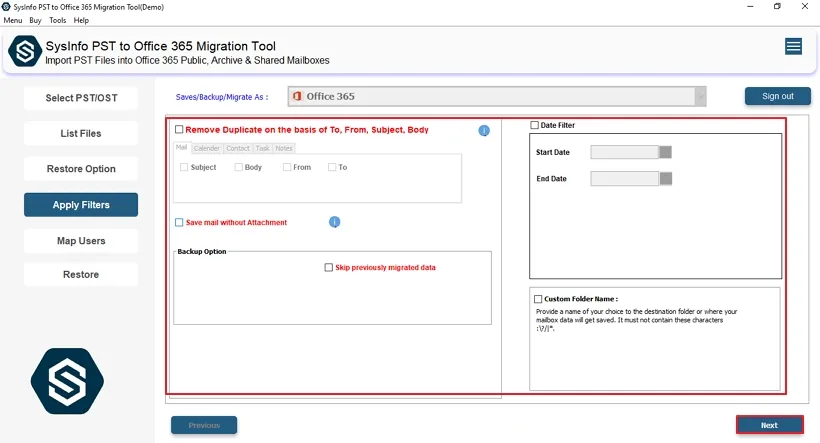
Follow the procedure below to initiate the free migration:
Step 01: Assign Required Permissions in Exchange Admin Center
Step 02: Create a PST Import Job in Microsoft Purview
Step 03: Generate Azure Storage URL and Use AzCopy
Step 04: Prepare the CSV Mapping File
Step 05: Upload Mapping File and Start Import

A New York financial firm was sitting on over 12,000 scattered archive files spread across legacy systems with no easy way to manage them. Then, they brought in the SysInfo PST to Office 365 Import Tool to sort things out. Migration time dropped by 65%, data came through completely intact, compliance improved, and the whole team finally got centralized access without the usual IT headache.
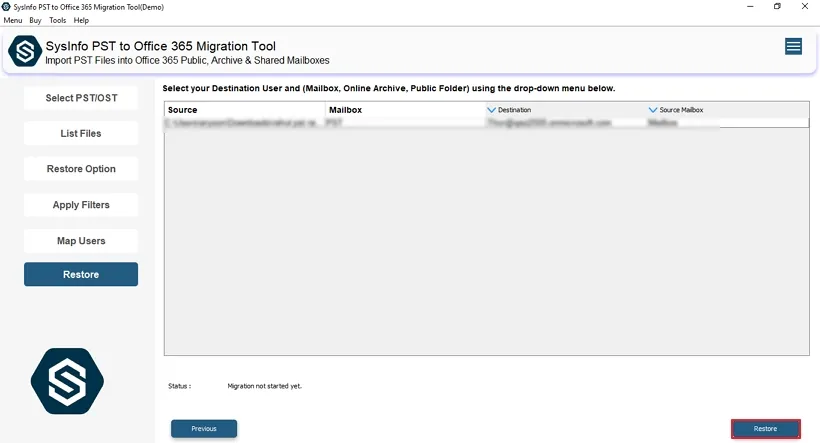
Moving legacy PST files to the cloud is a smart step. It brings better accessibility, tighter security, and smoother teamwork. The SysInfo tool makes it simple to import PST files to Office 365. No back-and-forth, no manual headaches. Get the planning right, and modernizing data management becomes far more straightforward
Q1. How to Import PST to Office 365 with Attachments?
Ans. You can import PST files using the PST to Office 365 Import Tool along with attachments while maintaining complete email structure, metadata, and folder hierarchy. This ensures secure and organized migration into Microsoft 365 for enterprise environments.Q2. Do I Need Technical Knowledge to Import PST Files to Office 365?
Ans. No, the SysInfo PST to Office 365 Migration Tool is designed for enterprise users of all skill levels. It removes dependency on complex manual processes and simplifies migration with a guided interface.Q3. Can Businesses Securely Import PST Files to Office 365?
Ans. Yes, the SysInfo PST to Office 365 Migration Tool ensures enterprise-grade security with encrypted data transfer. It safely migrates large volumes of business data into Microsoft 365 while maintaining compliance standards.Q4. How Can I Import PST Files to Office 365 for Multiple Users at Once?
Ans. This tool supports enterprise bulk migration, allowing administrators to map and migrate multiple PST files to different user mailboxes simultaneously, improving efficiency and saving significant time.Q5. Can Organizations Upload PST to Office 365 with Minimal Downtime?
Ans. Yes, the software enables fast and automated migration designed for enterprise continuity. This helps organizations minimize downtime while ensuring smooth and uninterrupted business operations during migration.